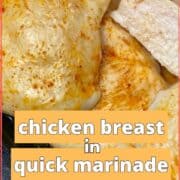
Juicy, tender, and flavorful are all things we want from a steadfast and reliable chicken breast. As you may have found out, achieving all three is not always easy. Maybe it's tender enough, but there's no flavor. Or it's perfectly seasoned but firm and dry. No one likes that! Let me help you learn some well-tested cooking techniques to get the best oven Baked Thin Sliced Chicken Breast possible!
It's way too easy to overcook a chicken breast, and it's not always easy to season it thoroughly. I use a few simple techniques to get juicy, tender, and flavorful thin-sliced chicken breasts. The first trick is brining the bird. This does double duty for flavor and moisture! I also bake chicken breasts at a low temperature instead of roasting since thin chicken breasts can easily be overcooked.
Scroll further down to learn how I make super moist and flavorful chicken breast using a few (very easy) professional cooking techniques.
Read on for all the loving details on how to make Baked Thin-Sliced Chicken Breast.
Jump to:
Featured Ingredients
Read below about a few of the ingredients used to make oven baked thin-sliced chicken breast.
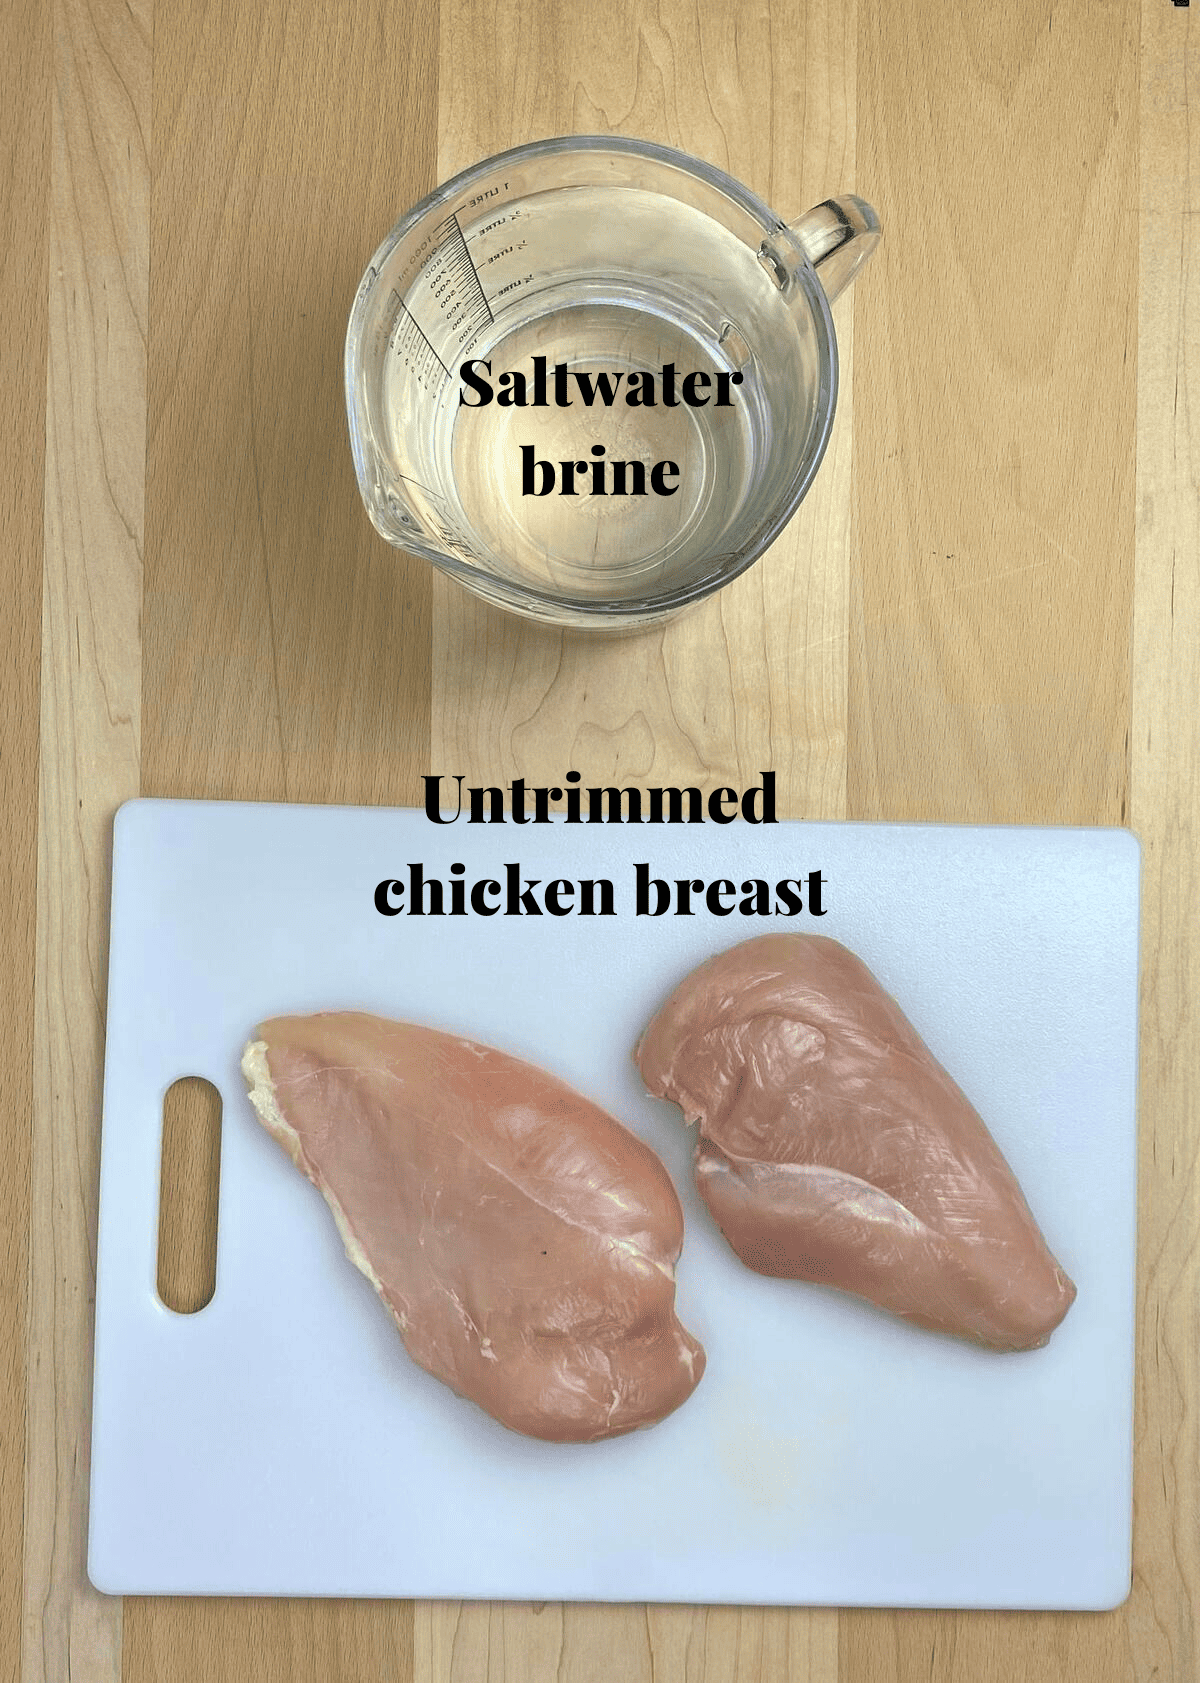
Chicken breast - Throughout this post, when I refer to the chicken breast, I am talking about an untrimmed breast half, which is how we typically find it in the grocery store. Occasionally, you can purchase both breasts still attached in the middle, so I don't want there to be any confusion when we talk about trimming and slicing into cutlets.
Salt brine - This is our secret weapon against dry, flavorless chicken breasts. Brining the chicken not only seasons it throughout but also helps the thin-sliced breast retain more moisture during the cooking process. Salt also acts as a natural tenderizer.
See recipe card for quantities.
Tools for the job
- Cutting board and sharp knife (paid link) (paid links)
- Measuring cups/spoons and a measuring pitcher
- Dish for brining - glass, stainless-steel, or ceramic
- Lined sheet pan or baking dish
- Tongs
- Meat thermometer - read below for my suggested option!
How to Make Baked Thin-Sliced Chicken Breast
This is a 3 step process:
- Make the brine
- Slice and brine the chicken
- Bake the chicken.
Make the wet brine
A simple wet brine is made up of water and salt-nothing else. And it's magical. When you soak the breast for 45 minutes in the wet brine, the salt penetrates all the muscle fibers, so each bite has great flavor. Brining also prevents moisture loss, so your final dish will also be extremely juicy!
To safely brine your chicken, you'll want to make sure the brine liquid is cold, but to dissolve the salt, you'll need to start with hot water. This is what I do to save time:
- Fill a 1-quart pitcher with 1 cup of hot tap water and the correct measurement of salt (see below) and stir until the salt has dissolved.
- Next, add 1 cup of ice and stir until the ice has dissolved.
- Then, add the final two cups of cold tap water to the quart and stir to combine. At this point, the brine should be cold. (The idea here is to keep the chicken in safe temperature zones until it's time to bake.)
- Pour the brine into a glass, ceramic, or stainless steel container and refrigerate while preparing the chicken.
I prefer using wide and flat dishes, like a glass casserole dish, as opposed to a tall-sided bowl where all the slices are stacked on top of each other. This way, I can spread each piece out while keeping it submerged in the liquid.
Preparing the chicken breast
- Make the brine and set it in the refrigerator while preparing the chicken.
- Preheat the oven to 325°F.
- Trim the chicken: Lay the chicken breast on the cutting board with the plump end away from you. Lay your hand over the breast and press to steady it.
- Insert the knife's edge midway down from the top and gently saw through the middle horizontally. This will yield two cutlets of equal length with slightly thinner ends.
- HINT: It's easier to slice chicken horizontally if it is slightly frozen; firmer on the inside than the outside.
- OPTION: If the final look isn't as important, for example, a chicken breast that will be diced after cooking, you can get the most even bake by slicing it into thirds. Start by slicing it in half and dividing the thicker and thinner ends. Then, slice the thicker end (only) horizontally.
- Add the raw chicken to the brine and refrigerate for at least 45 minutes but no more than 6 hours for boneless chicken.
Baking the sliced chicken breasts
- Lay the thinly sliced chicken on a parchment-lined sheet pan or baking dish and bake for 13-15 minutes at 325°F. I've been using these Nordicware sheet pans and nothing sticks to them, with or without parchment. Very easy clean-up! (paid links)
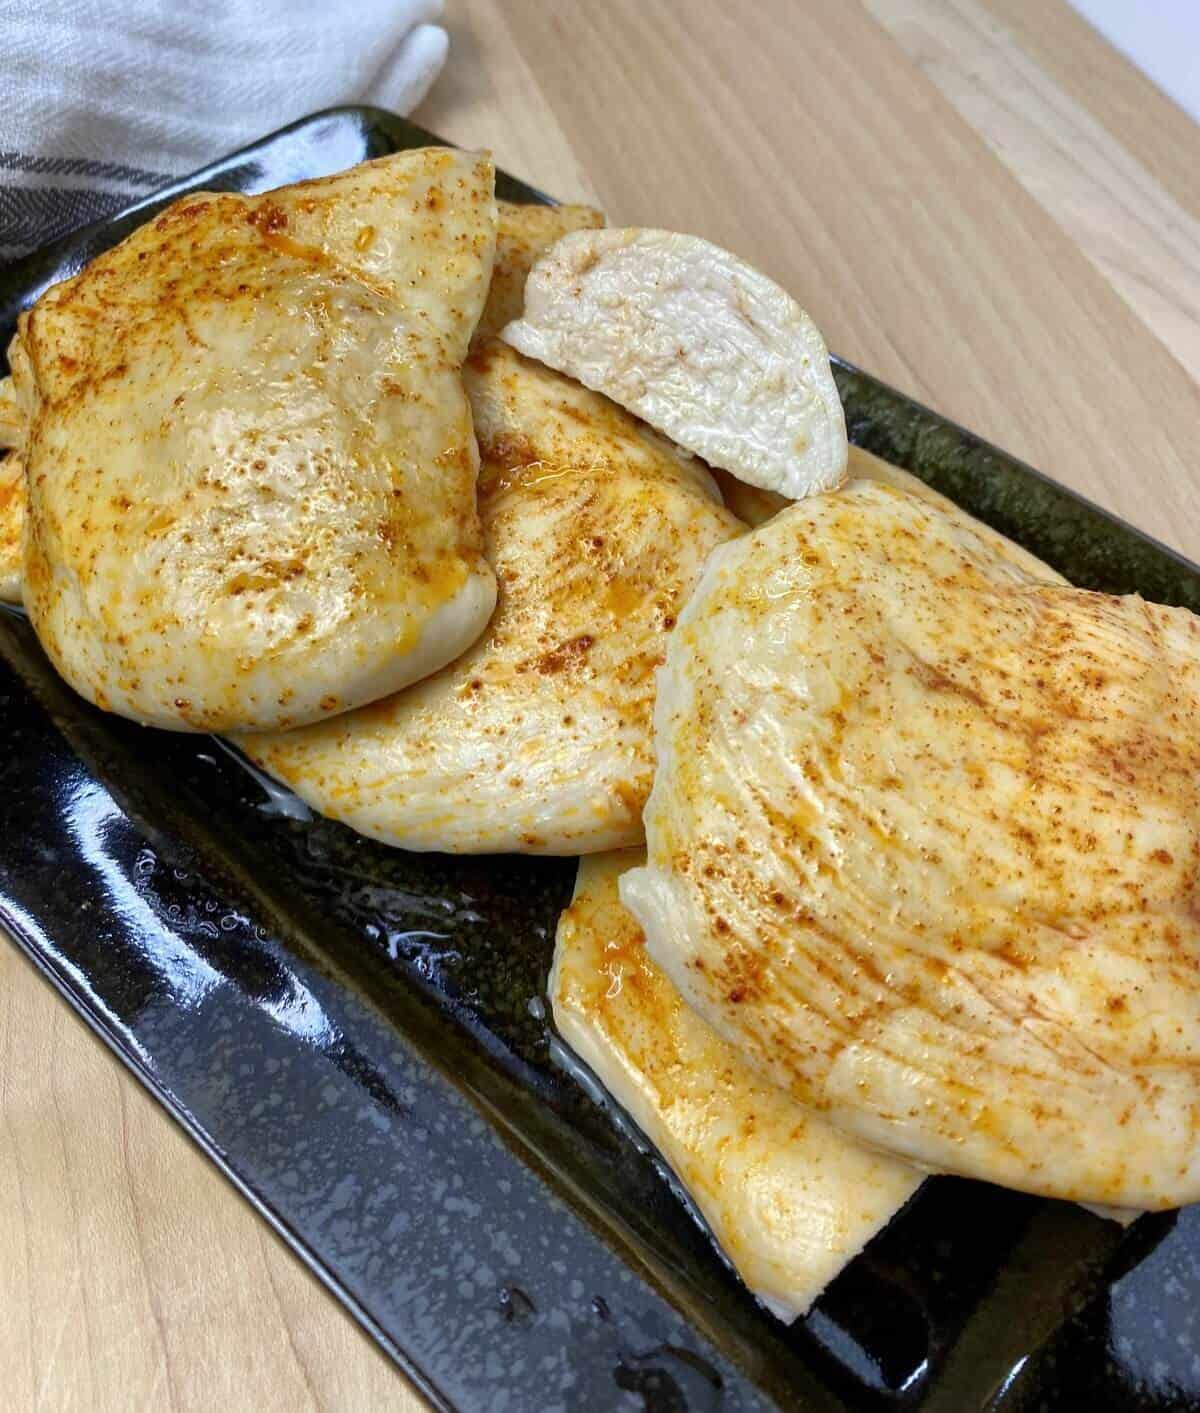
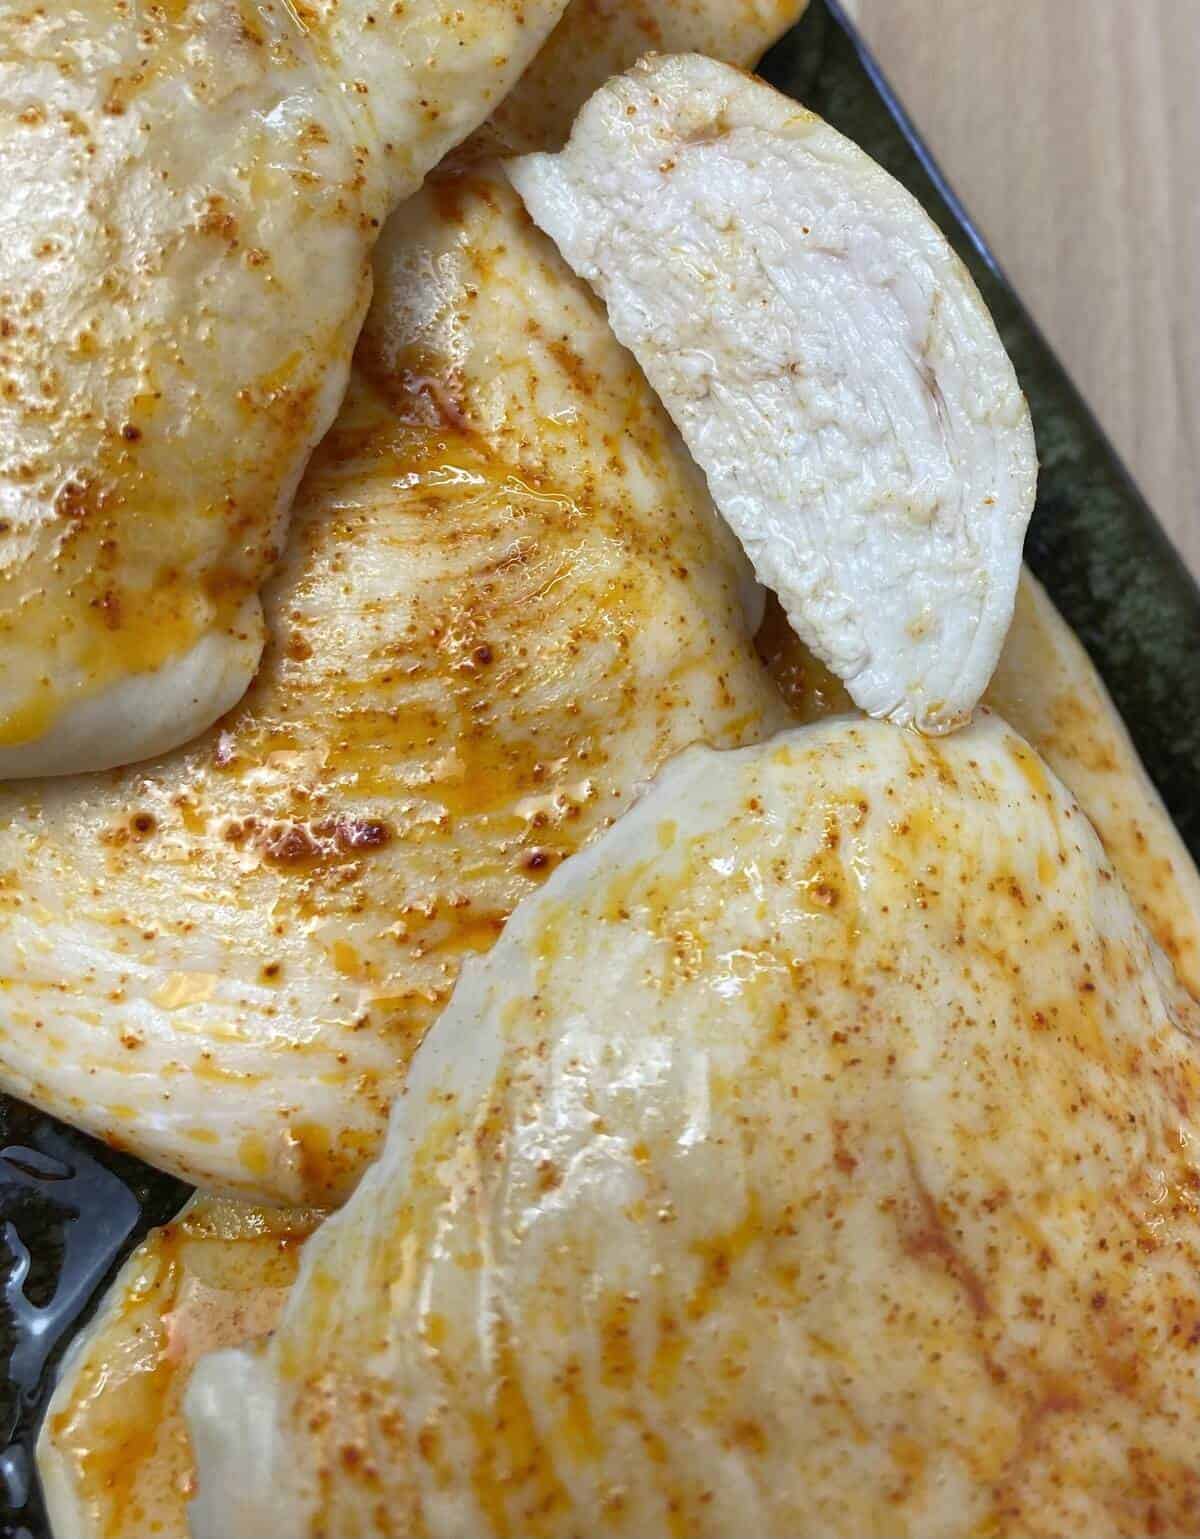
- OPTION: Dry-baked chicken breasts can look gray, which is a little unappetizing. If you would like, you can coat them with a few drops of oil along with a tiny sprinkle of a colorful neutral seasoning like paprika.
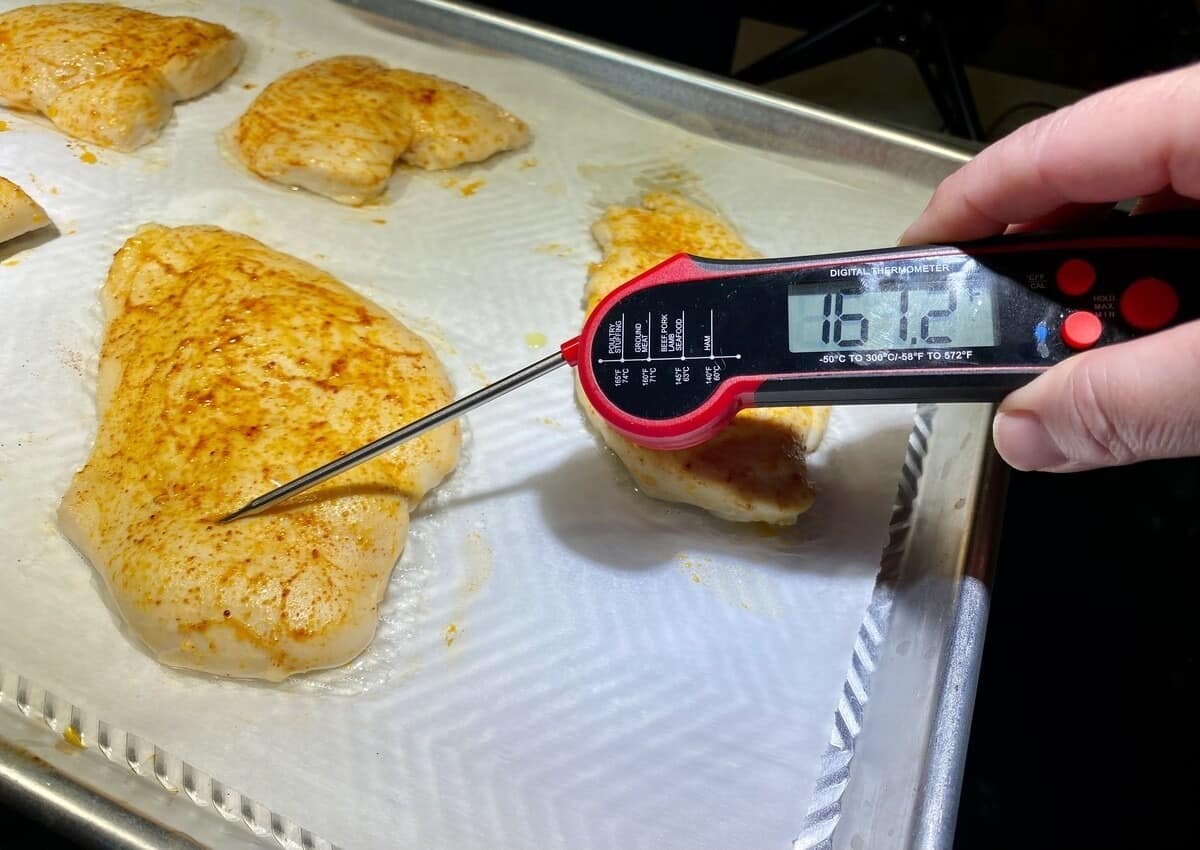
- When they reach 160°F, remove the baked chicken cutlets from the oven and let them rest on the pan for 5 minutes before using them.
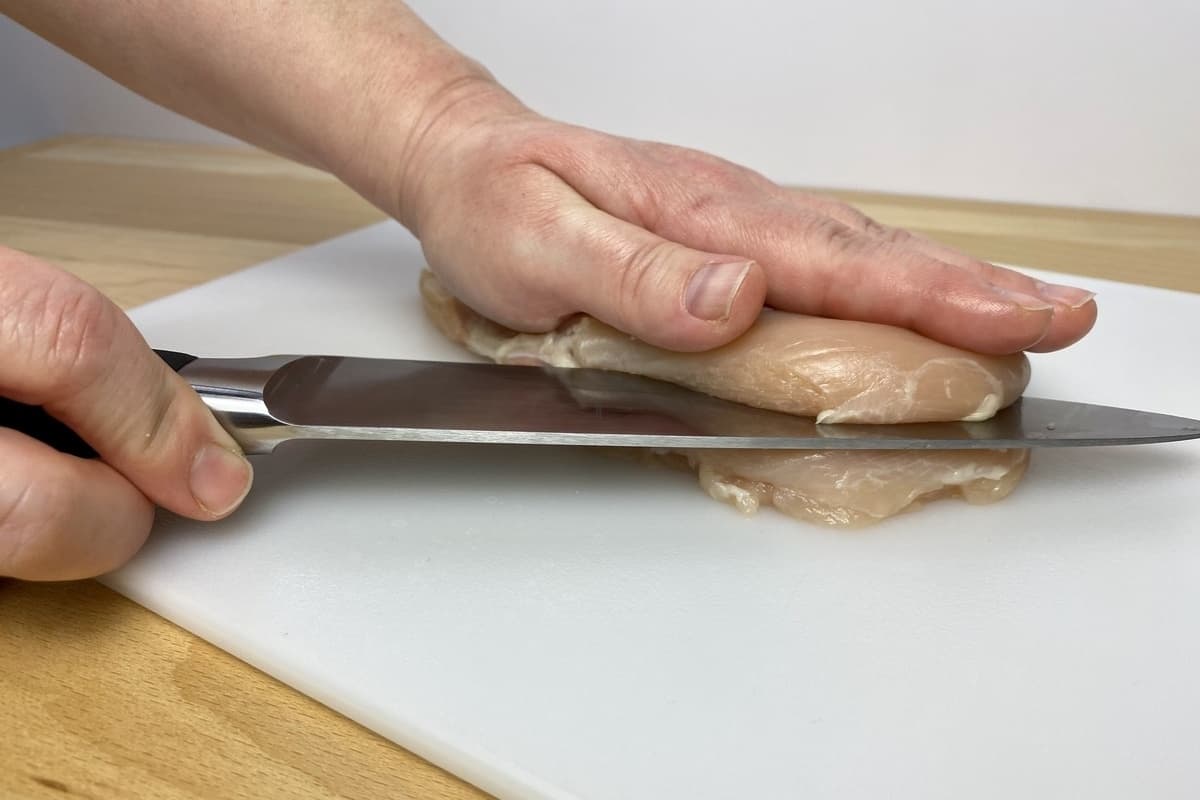
Hold the top steady and carefully slice horizontally, starting from the thickest end. Once the thicker end has separated, continue to pull the knife through the entire breast.
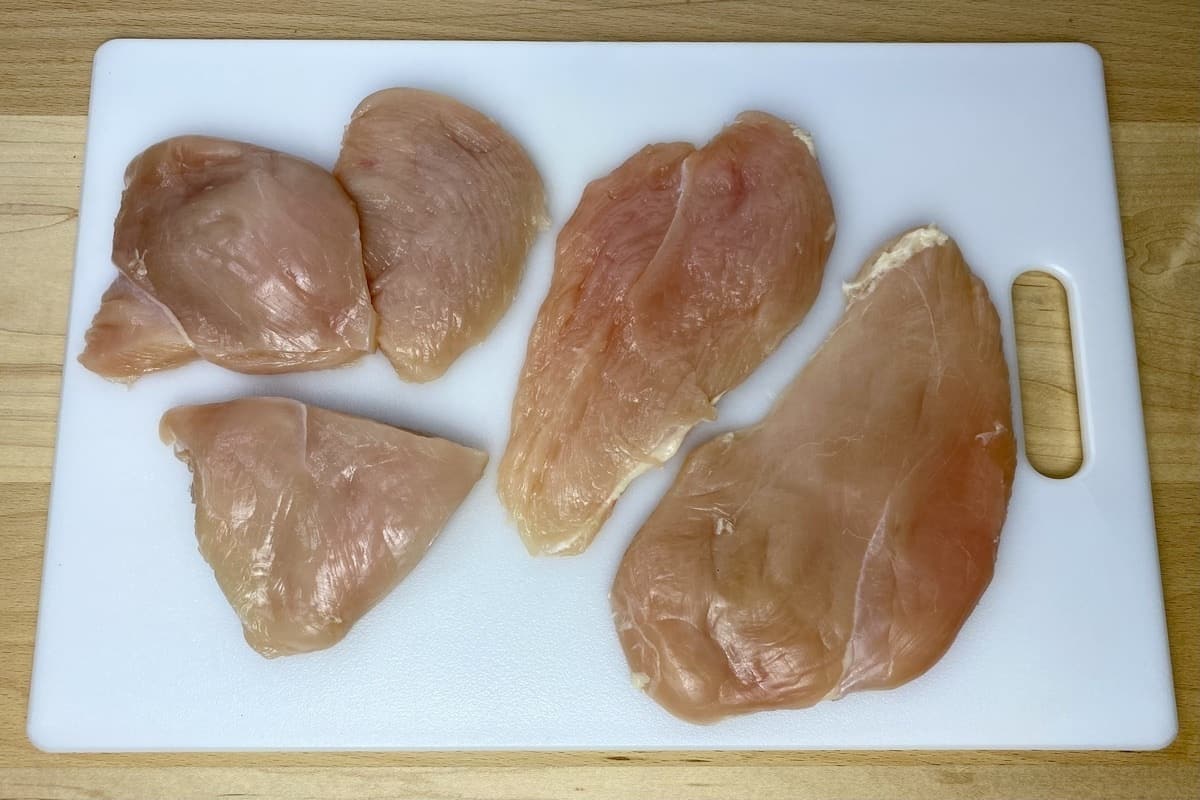
If you slice the breast into thirds, only slice the thickest end in half horizontally. Leave the thinner end intact so all pieces are about the same thickness.
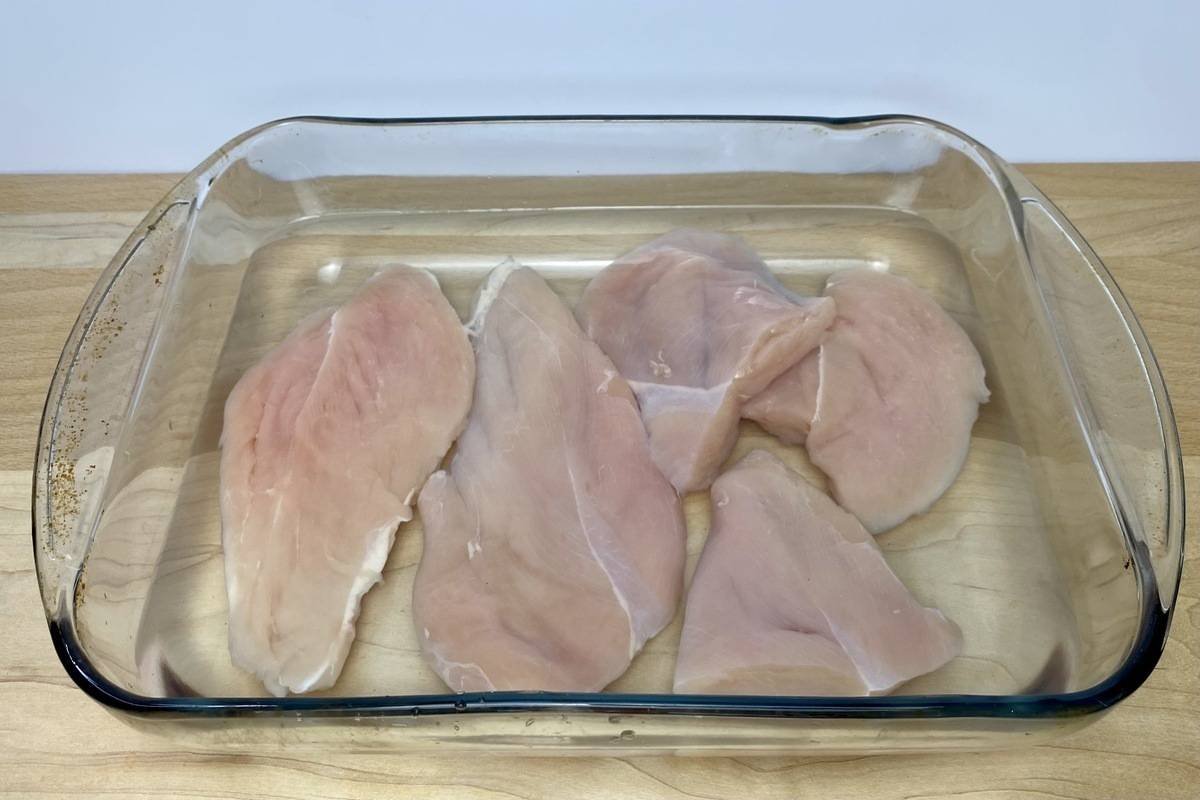
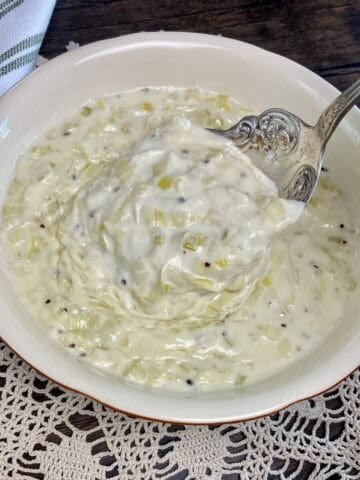
Pour the brine into the dish, then add the raw chicken cutlets.
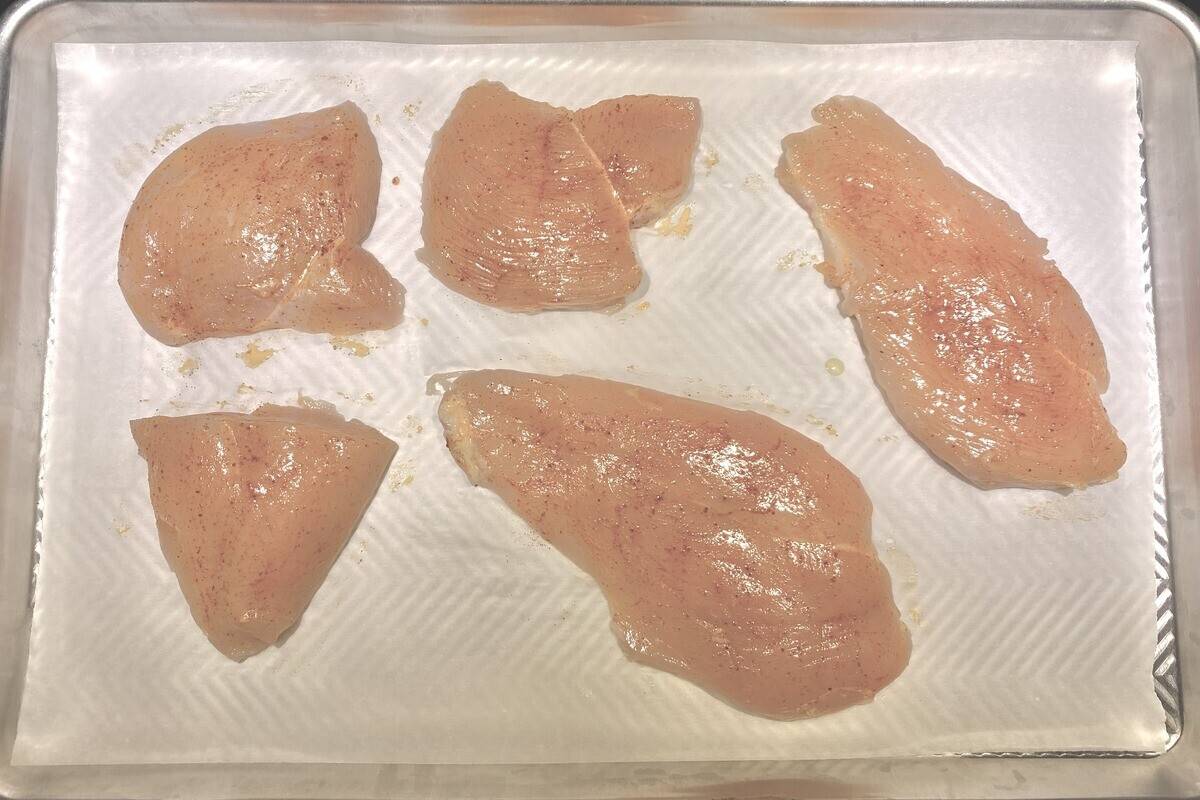
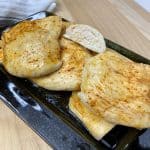
It's ready for the oven! (I added a little olive oil and paprika to give it color.)
Temp the chicken to know when it's done!
Relying on the color of the chicken will almost always lead you down the path of a dry, stringy bird. Here are some facts about the temperature of cooked chicken:
- Cooked chicken must reach an internal temperature of 165°F to kill off all bacteria safely, but anything above that may yield tough, dry meat when you're cooking chicken breast.
- Cooked foods will continue to cook once they're removed from the heat (carryover cooking), so it is recommended that they be pulled from the heat before they reach the targeted temperature.
- Smaller-sized foods will have lower amounts of carryover heat. With carryover cooking, you can bring a whole chicken roast to 155-157°F to safely reach 165°F, but a breast cutlet should be cooked to at least 160°F before removing it from the oven.
(Bone-in dark meat pieces have more leeway and can actually be cooked to 170-185°F without overcooking.) - A quick-read digital thermometer is helpful for not only getting an accurate reading but also a quick one. You can just temp the chicken right in the oven, and you'll lose very little heat.
- Check the temperature using this darling lollipop style thermometer by Thermoworks. It reads the temp in 2-3 seconds and comes in a ton of colors! Thermoworks makes many types of thermometers, consistently high quality and accuracy. (paid link)
Hot Tip!
Do not rinse raw chicken at all, ever. Only pat dry chicken with paper towels and carefully discard the toweling. Rinsing can splash dangerous germs all over your sink and counters, contaminating your surfaces without you even knowing.
Typically, there is nothing unsavory to rinse off the chicken, so it's not necessary. However, the chicken cooks better if it's dried of its natural moisture. The red liquid you'll often see is myoglobin, not blood. This is a protein that supplies oxygen to the muscles. (FACT: there's more myoglobin in the dark meat than the white meat, hence the darker color of the flesh.) Even when the chicken has been fully cooked, the pinkish color of the myoglobin can still be present and is not harmful to eat.
Variations of Baked Thin-Sliced Chicken Breast
- Flavorful brine - Instead of using a simple salt and water brine, add aromatics like celery, onion, bay leaf, and peppercorns and boil the brine for a few minutes. Once it has cooled, you can add the chicken breast and let it marinate for 45 minutes, creating a great depth of flavor for your final dish.
- Season after brining - After removing the chicken from the brine, sprinkle it with some of your favorite dry seasonings like garlic powder, cumin, Italian herbs, dry oregano, etc. ½ teaspoon of any one of these is enough for any trimmed version of two chicken breasts. (i.e., two breasts trimmed into four thin-sliced cutlets.)
Storage of baked thin sliced chicken breast
- If raw chicken breasts are not in a vacuum-sealed bag, they should be cooked or frozen (for up to 9 months) within a few days of purchase. Otherwise, check the dates on the packaging.
- Brined chicken should be cooked or frozen within a day of coming out of the brine.
- Baked chicken breasts will last a few days in the refrigerator or up to 3 months in the freezer if they are wrapped and sealed tightly.
FAQ
Baking the chicken at a lower temperature, below 375°F, helps it retain moisture and tender texture without browning the outside or creating a crust. Roasting anything above 375°F is better for a whole bird, or skin-on pieces that need the browning and caramelization.
I bake the thin sliced chicken at 325°F because it doesn't take that much longer than at 350°F and will give you the juiciest cutlet!
No, once it has been sliced thin, there is no longer a need to pound it any flatter unless you are going for a large thin piece for your dish, like schnitzel, for example.
I tested the chicken's flavor at 15, 30, and 45 minutes. There was a marked difference in flavor and retained juices at the 45-minute mark. So, you can brine for less time, but the best flavor starts at 45 minutes or more.
Food safety
- Cook to a minimum final temperature of 165 °F (74 °C)
- Do not use the same utensils on cooked food that previously touched raw meat
- Wash hands after touching raw meat
- Don't leave food sitting out at room temperature for extended periods
- Never leave cooking food unattended
See more guidelines at USDA.gov.
Winner winner chicken dinner
Looking for more chicken recipes? Try these:
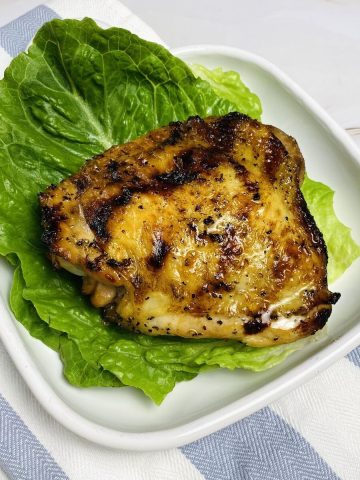
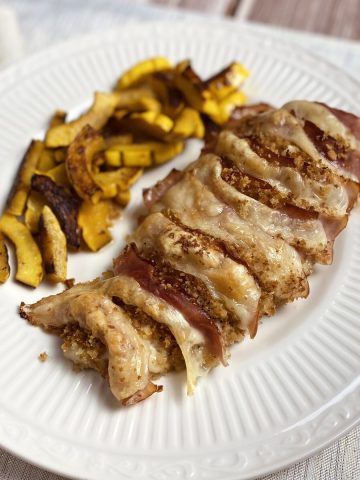
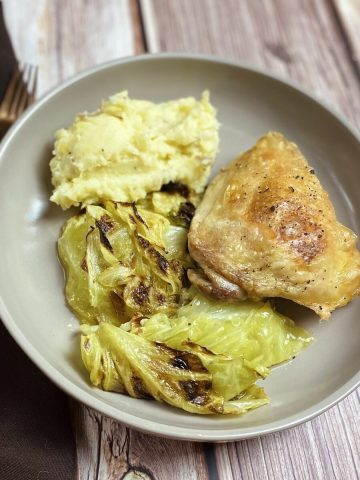
Jazzing up your chicken, more recipes
Here are some complimentary recipes to try with baked chicken breast:

Baked Thin-Sliced Chicken Breast
- Total Time: 1 hour 10 minutes
- Yield: 4 servings 1x
- Diet: Gluten Free
Description
Using easy to learn professional cooking techniques you will get the juiciest and most tender oven baked thin sliced chicken breast you've ever had!
Ingredients
- 2 chicken breasts
- 1 quart water
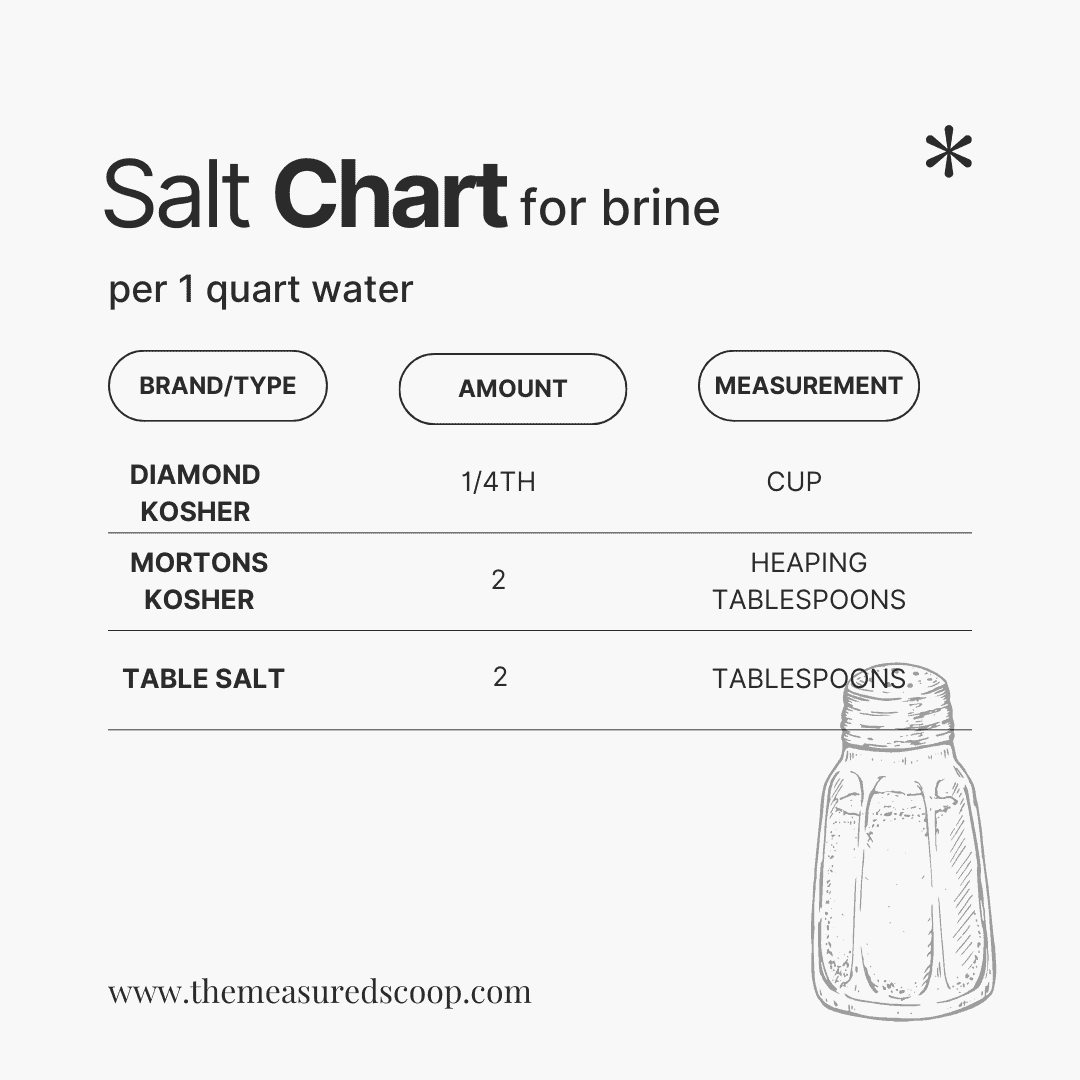
- ¼ cup Diamond kosher salt (SEE NOTE for other brands)
- Olive oil, optional
- Paprika, optional for color
Instructions
- Prepare the brine by dissolving the salt in 1 cup of hot tap water, then add 1 cup of ice and stir to dissolve. Then add 2 cups of cold tap water. Set the brine in the refrigerator while preparing the chicken breast.
- Preheat the oven to 325°F.
- Trim the chicken: Lay the chicken breast on the cutting board with the plump end away from you. Lay your hand over the breast and press to steady it. Insert the edge of the knife midway down from the top and gently saw through the middle horizontally. This will yield two cutlets of equal length with slightly thinner ends.
- Add the chicken to the salt brine for at least 45 minutes but no more than 6 hours for boneless chicken.
- Lay the trimmed cutlets on a lined sheet pan or baking dish and bake for 13-15 minutes at 325°F. Remove the chicken when it reaches a temperature of at least 160F and let it rest for 5 minutes before slicing.
- Optional: Rub chicken with a little bit of oil and paprika for color.
Notes
If you are using Morton brand kosher salt, use 2 heaping tablespoons per quart of water. If you are using small grained table salt, the ratio is 2 even tablespoons per quart of water. Do not use iodized salt.
- Prep Time: 10 minutes
- Brine Time: 45 minutes
- Cook Time: 15 minutes
- Category: Main dish
- Method: baking
- Cuisine: American


Comments
No Comments