If you've read a bit about me here, you might know I'm a culinary school grad. I spent two years learning classic French techniques - everything from wielding a paring knife to working with 40-gallon soup kettles. We covered it all: butchering cows, building creamy pan sauces, even deep-frying under pressure.
But before any of that, the first thing I learned was mise en place. And honestly? It's the one habit that's shaped the way I cook more than anything else.
Mise en place is a French term meaning "set up" or "put in its place." Professionals have long used this technique to stay organized while cooking. It speeds up the process and minimizes mistakes and cleanup.
I can tell you from experience that it takes longer to make meals when I don't do my "mise," and mistakes happen more often. How can we apply this to the home kitchen? I'll show you!
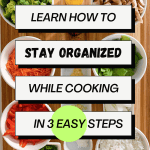
To employ mise en place techniques for your home meals, follow three simple steps: read the recipe, gather the right equipment, and clean as you go.
Jump to:
Reading the recipe
This is your map! It'll inform you about the food you're using, the equipment you'll need, and how long it'll take. Read that thing from top to bottom at least once before you start cooking to avoid missing anything important. Be sure to read the Notes section as well!
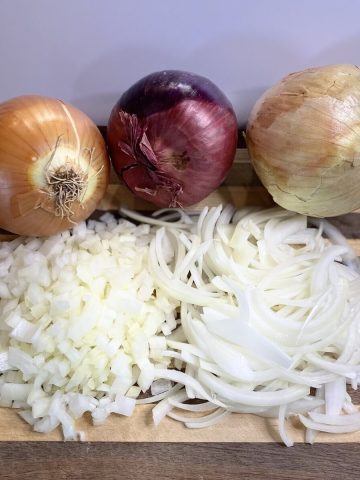
The recipe will instruct you on how to prepare your ingredients, such as specifying the number of cups of broth required, or it'll direct you to thinly slice the onion rather than dice it.
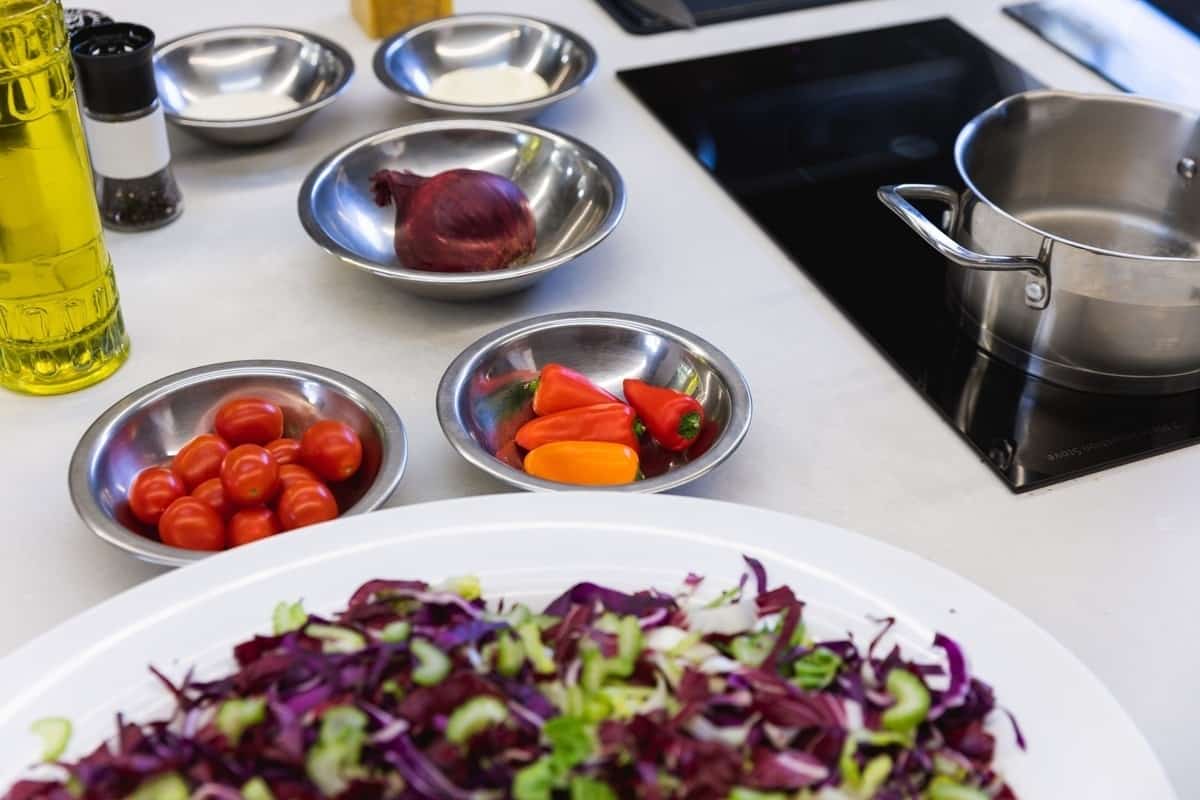
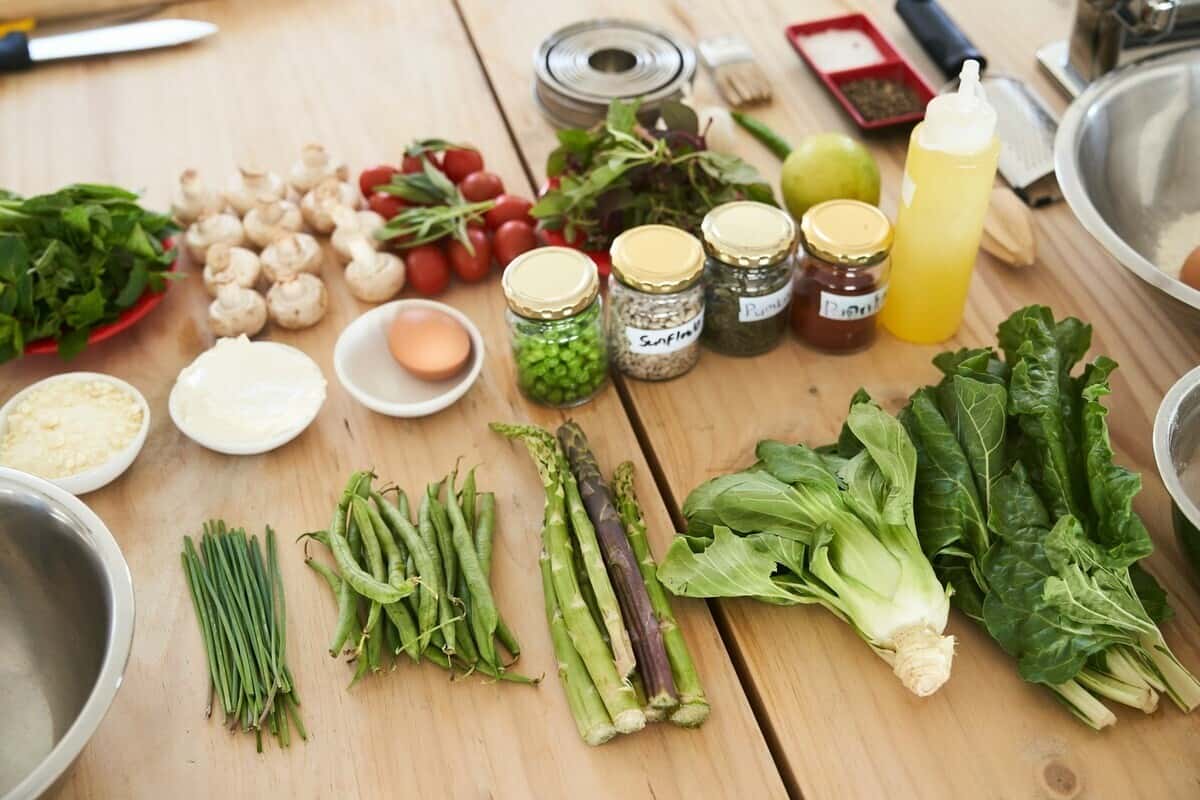
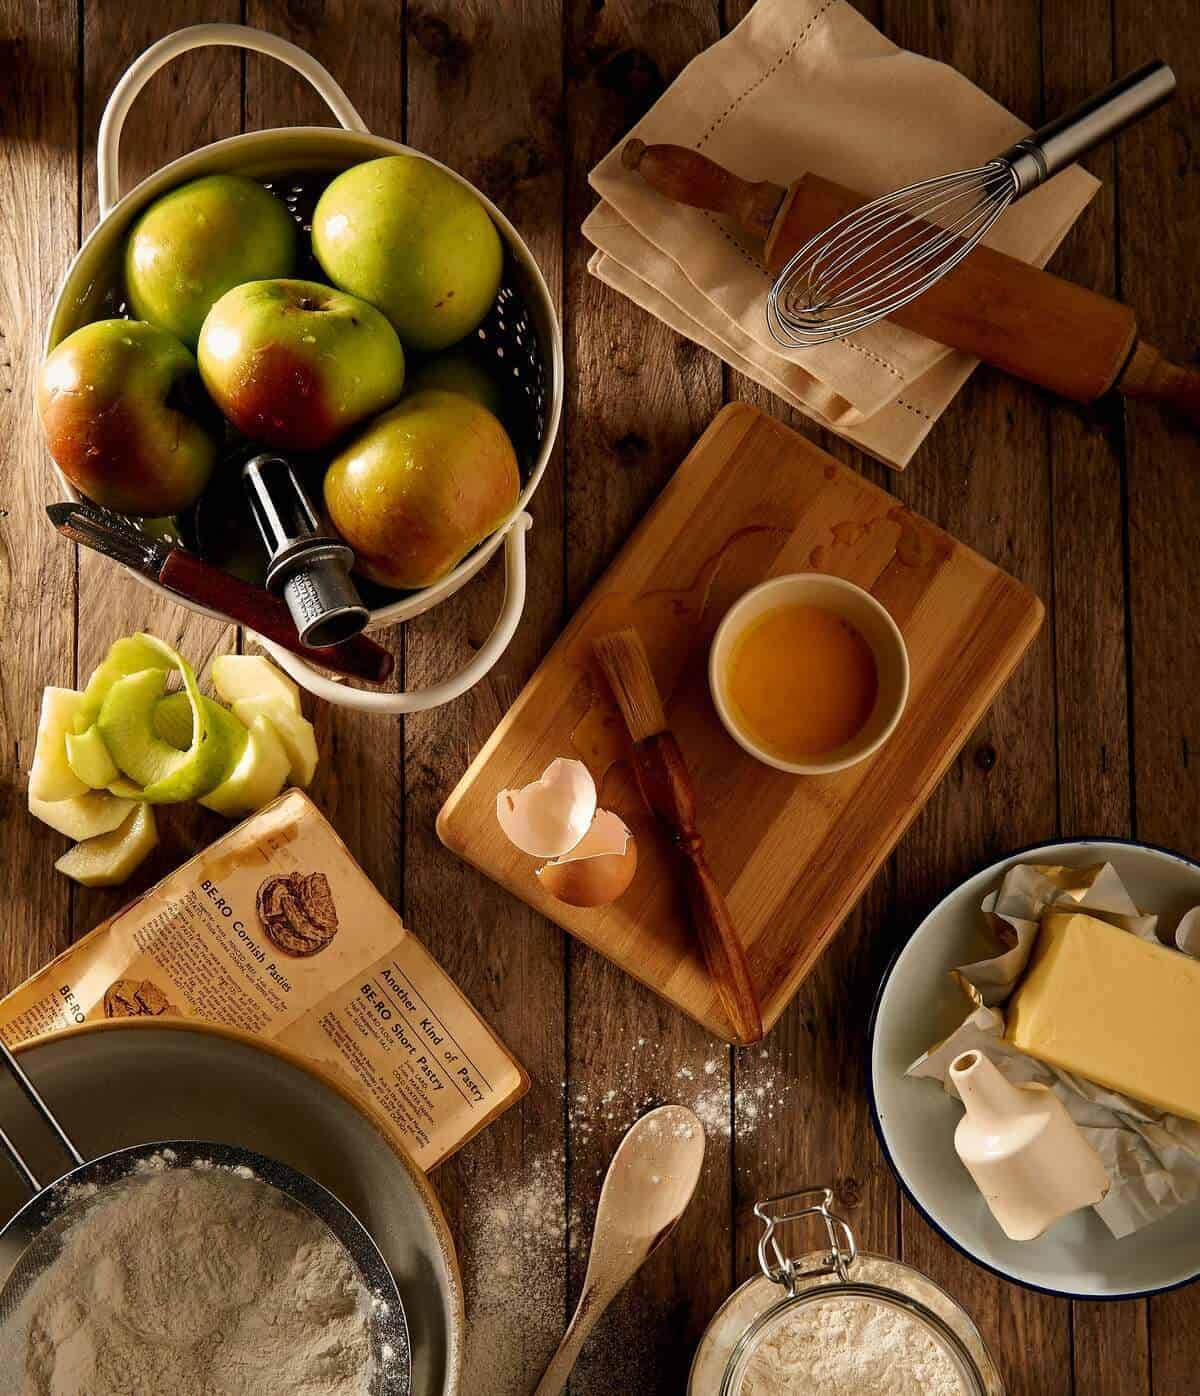
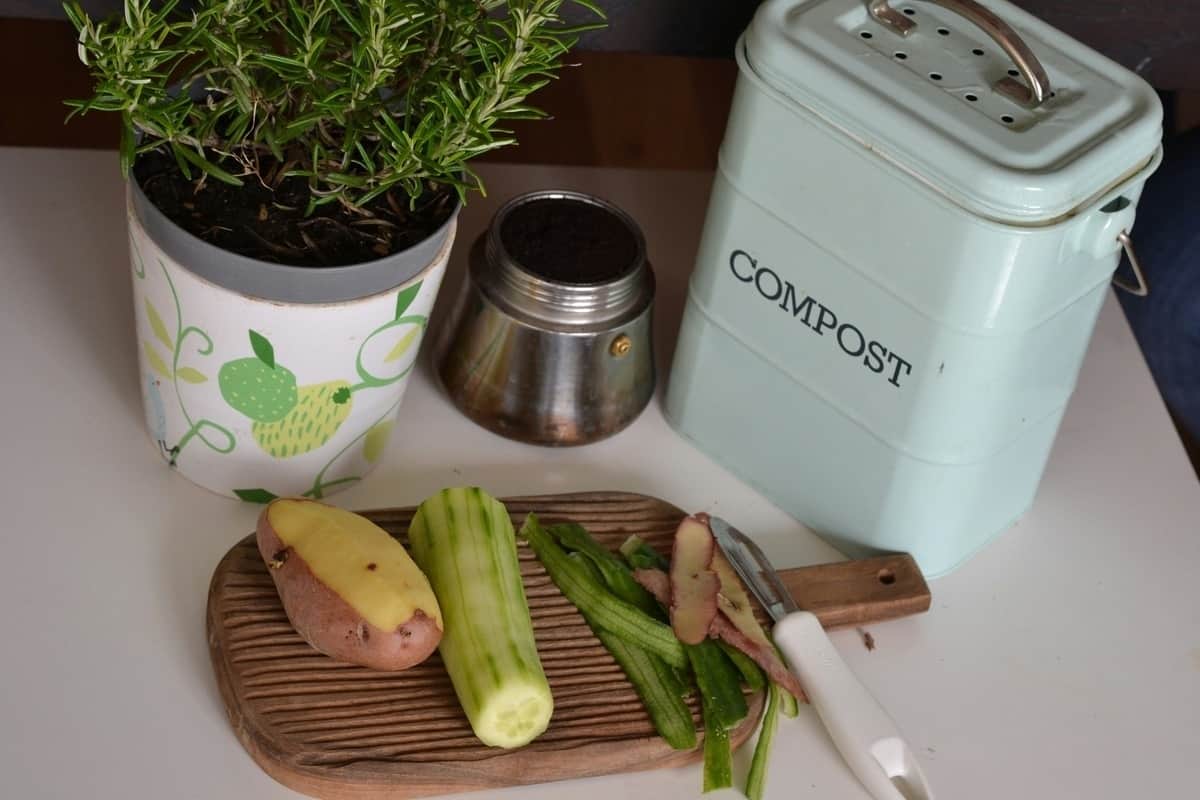
The first step in mise en place is to prepare and measure your ingredients according to the recipe's specifications. Once your ingredients are prepped and measured, you can group those that will be added to the dish at the same time. This helps streamline your cooking and keeps everything organized.
For instance, when making a dish that requires three vegetables to be sautéed together, once they are prepped, put them all into one prep bowl (or pile them on the cutting board). I like to line the bowls up on the counter in the order they go into the dish, so I REALLY don't have to think about it!
Sometimes, you'll make a meal where every ingredient is added separately. At other times, you can skip the bowls and work with several small piles on a cutting board.
The recipe also explains the equipment and tools needed to make the dish, which leads us to the next section!
Ideas for Prep Bowls
 Buy Now →
10 Pack Small Stainless Steel Prep Bowls
Buy Now →
8 Ceramic Pinch Bowls Set, 3.5 Oz
Buy Now →(paid link)
Gathering the right equipment
When you choose a recipe, it's fairly obvious if you need to cook the food on the stove or in the oven, or whether it's for an Instant Pot or an air fryer. However, you need to know which tools to use when doing this.
Some recipes list the main tools needed at the top of the recipe. You can also find this information in the recipe directions. (Another great reason to read it through before starting.) If you're getting your recipe from a blog, the writer will often list the equipment in the post, sometimes with valuable usage information.
Having your utensils and equipment ready will help you move things along faster! The recipe directions will indicate whether you need a non-stick skillet, a saucepan, or a Dutch oven. They will also include terms like whisk, spoon over, slice, and peel. You'll then know you'll need a whisk, spoon, sharp knife, or vegetable peeler.
Also, consider what you're using to cook with. If you're using a non-stick pan, use wooden or silicone utensils to avoid scratching the surface. If the dish goes in the oven, have hot pads nearby. When measuring liquid or dry ingredients, use the appropriate measuring spoons, cups, or pitchers for the food.
Hot Tip!
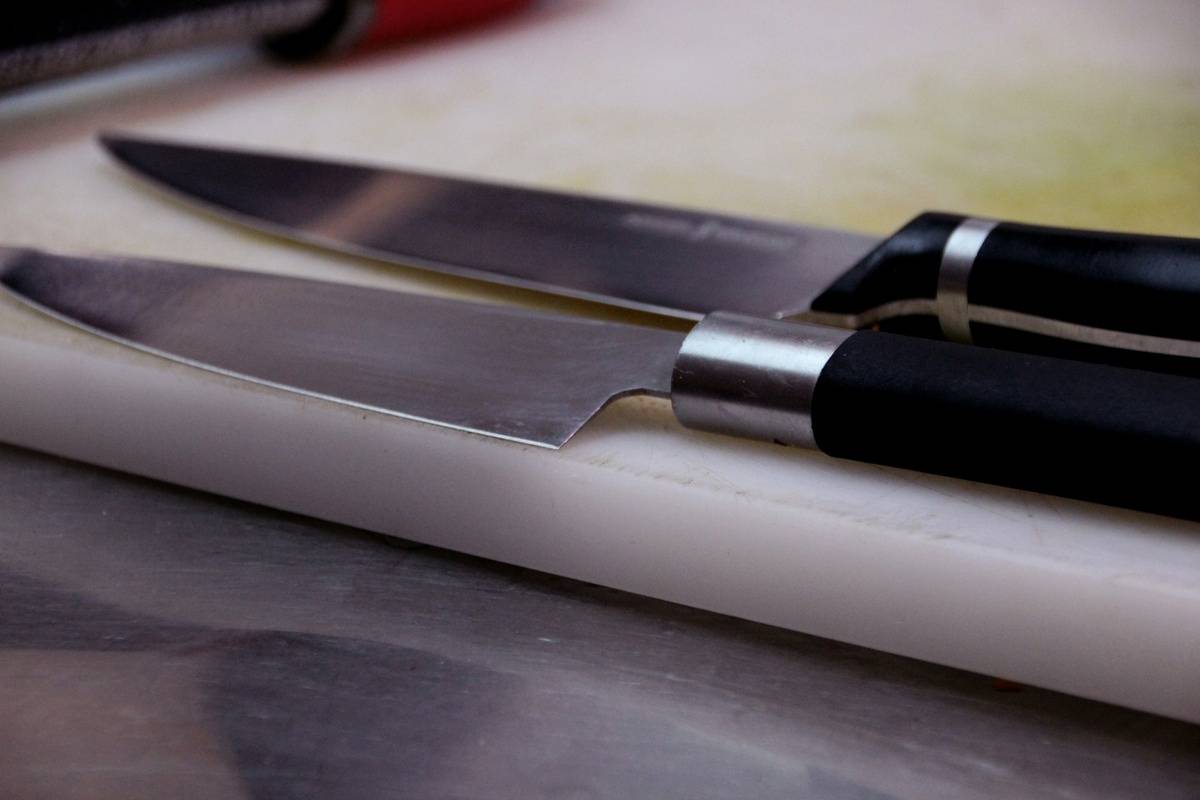
Always use sharp knives. Dull knives are more dangerous and can slow down your work. Sharpening a knife with a honing rod or steel before cutting produce, such as onions or tomatoes, will enable you to slice more quickly and cleanly. It also helps keep the knife steady, reducing the risk of slipping and causing an injury.
If you use knives regularly, it is recommended that you get them professionally sharpened about every six months. Check locally for knife sharpening services. Sometimes, they are mobile or reside within another store. For example, my local hardware store will do it. Knife sharpening costs are minimal, $7-10 each, and they will save you in the long run!
Start your knife sharpening here

Knife Sharpener Honing Rod 12 Inch
Buy Now →(paid link)
Clean as you go
This part tends to happen naturally when you use the mise en place process. First, chop all your vegetables and measure the liquids and seasonings. Then, after you've done that, put everything else away. Put the bottles back in the fridge or cupboard, and discard the food waste from the ingredients you've prepped.
Do all this before starting the cooking process. It takes seconds to clean up, but provides so much in return! A clean space makes it easier to think and stay on task.
You'll hopefully feel inspired to keep picking up after yourself as you go along!
As you cook through the recipe and start emptying the measuring bowls, stack them up and out of your way. If you're working on a recipe that involves hands-off cooking time, you can deal with it then, if you'd like.
And don't think of this as a punishment! Experience has taught me that cleaning as I go helps me stay focused on the task at hand. The bonus is that there is much less cleanup to deal with after you're done cooking.
Forming new habits can be challenging. Try this technique with a smaller meal, then work your way up! The more you mise en place your meals, the easier and more natural it will become. Not every dish benefits from this, but you will often find that it saves you time and energy, giving you peace of mind.
Go out, my friends, and mise the world! Leave me a comment below to let me know how it goes.
Practice your mise with these!
Here are a few of my recipes that are perfect for learning mise en place techniques!

Comments
No Comments